
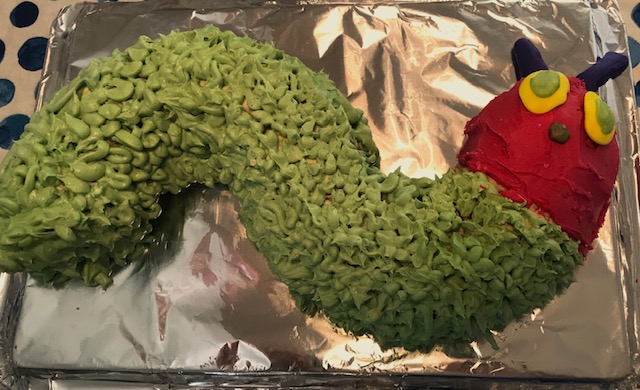
The Very Hungry Caterpillar Birthday Cake Tutorial

If you missed my post on M’s quarantine birthday, check it out here. This is the step by step tutorial on how to make this great The Very Hungry Caterpillar cake!
Originally posted Summer 2020
*Some affiliate links may be included in this post. By clicking on them I may make a small commission at no additional cost to you.
Ingredients:
- 1 box cake mix and ingredients per box instructions (unless you’re fancy and want to make the cake from scratch)
- Bundt cake pan
- Non stick spray
- Flour for coating pan
- 2 sticks room temperature butter
- 4 cups powdered sugar
- 1-2 tsp. vanilla
- 2 cups heavy cream or whole milk
- Small package of fondant
- Food coloring (gel is best for the fondant but regular will work as well)
Step 1- Halfway Homemade Cake
Spray bundt pan with nonstick spray. Put a few sprinkles of flour in the pan and over the sink shake it to have a thin layer of flour throughout.
Make & bake the cake per the instructions on the box. I used Annie’s confetti cake mix.
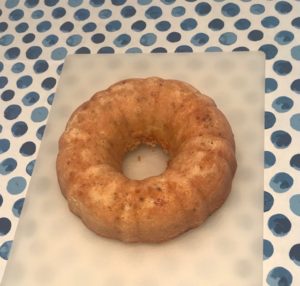
Step 2-Releasing the cake
For the first time ever I had the entire cake come out of the bundt pan in one piece-major victory! I actually Googled instructions on this process, here are the tips I used:
- 1) Make sure cake is done by using a toothpick, poke the center (or close to it since there is no center) with the toothpick. If it comes out clean it is done.
- 2) Let cake cool for 10 minutes.
- 3) Using a knife or small spatula release the cake from the pan by running the tool around the perimeter gently.
- 4) Place a cutting board or large plate over the top of the cake pan. Hold on, say a prayer and flip! The cake should release fully from the pan.
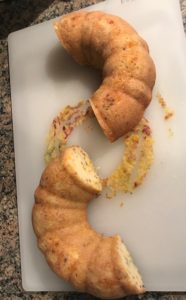
Step 3- Cut the cake
Let the cake cool completely and cut in half.
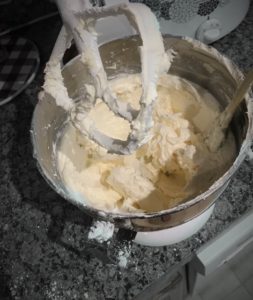
Step 4- Make frosting
The ingredients at the top of the page are for a buttercream frosting. Warning-this recipe is very sweet!
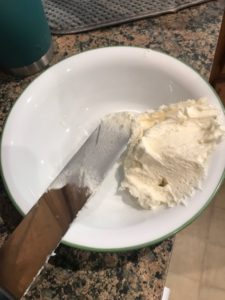
- Using a mixer, cream together the butter until it is a smooth consistancy.
- Slowly add 2 cups of powdered sugar and mix until combined
- Add in 1 cup of heavy cream
- Add vanilla & a pinch of salt if you would like
- Add the rest of the powdered sugar (2 cups) and more cream as needed- this is where I would play with the taste and consistency for yourself. Four cups of sugar is a lot!
- Reserve about 1/4-1/2 cup frosting
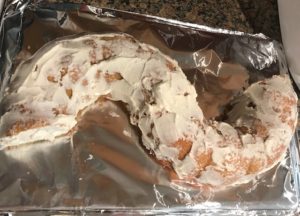
Step 5- Crumb Coat the Cake
A crumb coat is a thin layer of frosting covering your cake to seal in any crumbs. This is also where you will use the frosting to “glue” the two pieces together and form your caterpillar.
Step 6- Color the frosting
Add green food coloring to the large portion of frosting and red to the smaller, reserved amount.
Step 7- Frost the body of the caterpillar
The below kit from Wilton is what I use at home for piping tips. It also comes with piping bags. Since they are disposable, I just use zipper food storage bags now.
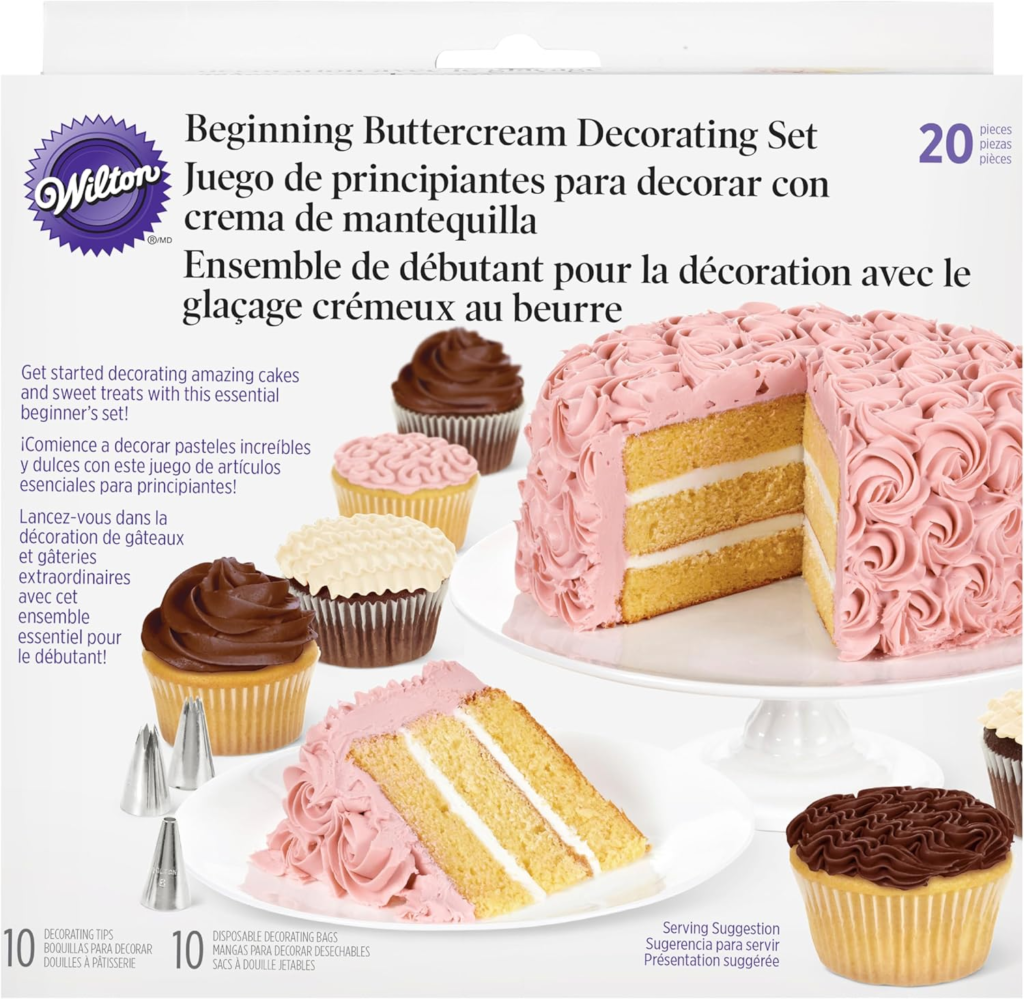
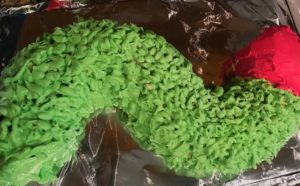
I wish I could tell you what piping tip I used…but I’m not that technical! I picked a medium size and did my best. Trigger finger is not conducive to awesome piping. Piping the curve of the caterpillar was quite tricky, so be prepared to take your time.
I didn’t feel like piping the head after finishing the entire body so I used an icing knife and covered the head in red frosting. I like the texture contrast a lot, so I’m glad I did it this way!
Step 8- Fondant!
My kids have been begging to try fondant forever (Thank you Food Network). I am not a big fan of it and also have no idea what I’m doing with it. Given the fact that we have nothing else to do right now, (STUPID COVID!) I decided to give it a shot to make some facial features for our caterpillar. Online I found a small pack like this one. I also purchased some gel coloring in purple. Per usual, I moved faster than my brain and completely forgot to purchase other colors. The regular food coloring already in my pantry worked in a pinch.
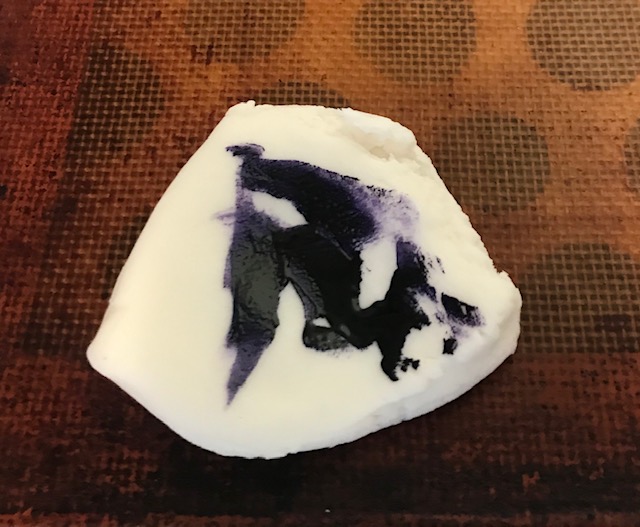
To add color to fondant:
- Separate amount of fondant needed and make flat.
- Using a toothpick or knife add a little bit of the gel color.
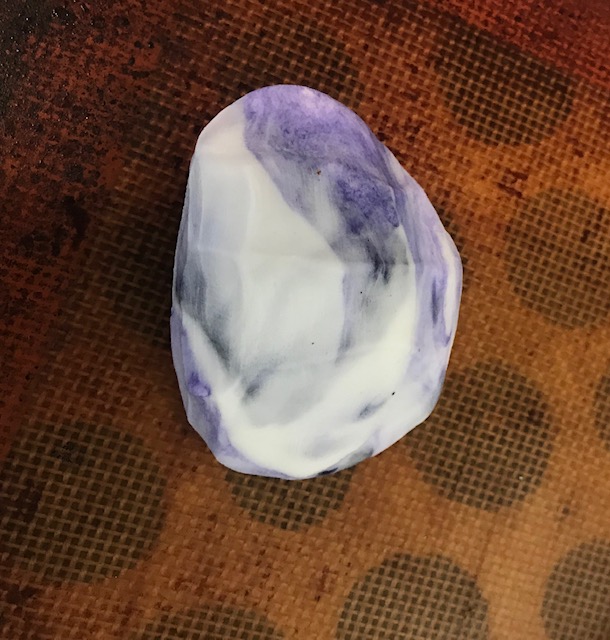
- Fold fondant in half and knead.
- Knead until completely mixed, adding more color as desired.
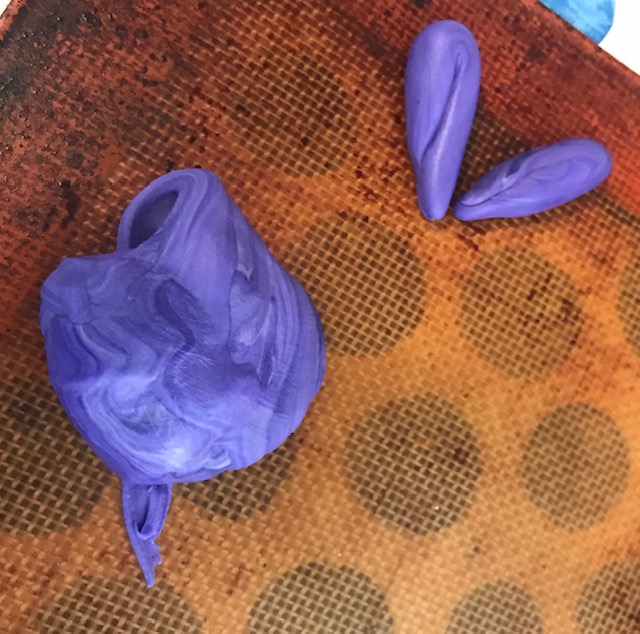
Next, harness your Play-doh skills and shape the attennae, eyes, pupils and nose. Place them onto the cake.
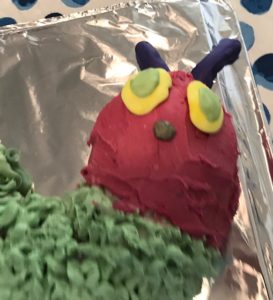
Not too bad for a first timer!
Fondant Tips:
- In a pinch you can use liquid food coloring, it is messier and won’t make as bold of a color as the gel.
- The fondant gets warm after being held for a while. If it becomes too sticky let it sit for 10 minutes or so until trying to shape it or mix color again.
- Fold the fondant directly over the gel food coloring (initially) to avoid direct contact with your hands. Once it is in the fondant it shouldn’t come off and stain you.
- If you do get dye on your hands it should come off with a few hand washes.
- If you need black fondant I would buy it already dyed. They also make brown fondant, but most brands have flavored it chocolate-something to keep in mind, depending on the flavor of your cake!
I hope this helps you make an awesome cake of your own! I would love to see what other creatures you’ve made out of a bundt cake!!
Comment here or tag me on Instagram!


One Comment
Pingback: